
Choosing a patch backing starts with three questions: What garment will it go on? What wear and washing will it face? Does it need to be removable?
The right choice depends on the complete combination of patch, backing, fabric and application method—not just how the patch looks.
Here is a practical comparison for apparel brands, uniform suppliers and custom patch buyers.
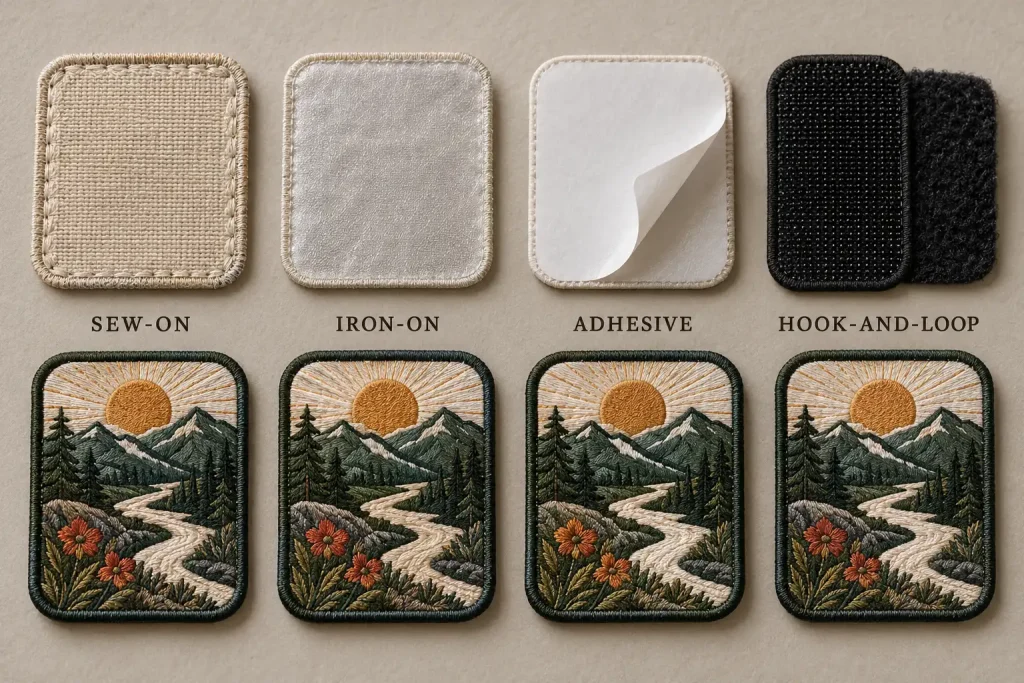
Patch Backing Options at a Glance
| Backing | When to consider it | Main check | Removable? |
|---|---|---|---|
| Sew-on | Fixed branding where stitching is practical | Fabric, stitch placement and access | Requires unpicking stitches |
| Iron-on | Heat-applied branding on compatible garments | Heat tolerance, adhesive compatibility and pressing conditions | Not intended for routine removal |
| Adhesive / stick-on | Quick placement, displays or short-term use | Surface compatibility and intended service life | Removal may leave residue; reuse is not guaranteed |
| Hook-and-loop | Interchangeable names, roles or team patches | Matching hook and loop surfaces and secure attachment | Designed for repeated removal and reattachment |
1. Sew-On: For Fixed Branding Where Stitching Is Practical
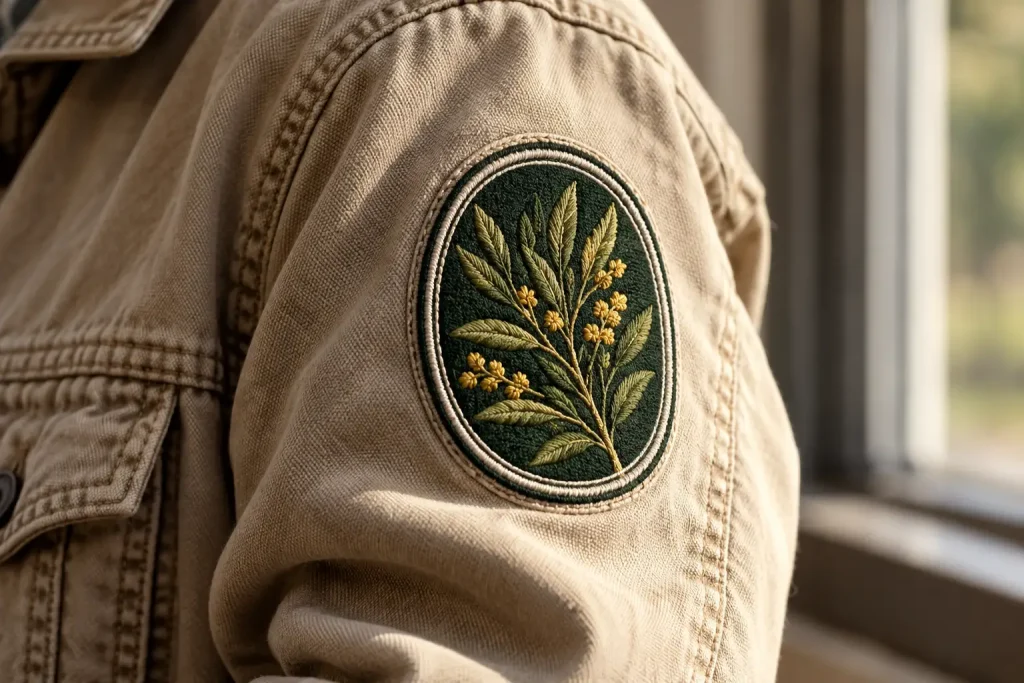
Sew-on patches are attached with thread rather than relying on an adhesive bond. They are worth considering for uniforms, workwear, jackets and bags when the material and construction allow sewing.
Check whether the installer can reach the intended position without catching a lining, closing a pocket or distorting the garment.
Durability depends on the whole sewn assembly: the patch edge, thread, stitching and garment fabric. Sewing also creates needle holes, so waterproof or coated garments require extra care.
Buyer tip: Confirm the sewing position and edge construction before approving the patch.
2. Iron-On: Check the Fabric Before Applying Heat
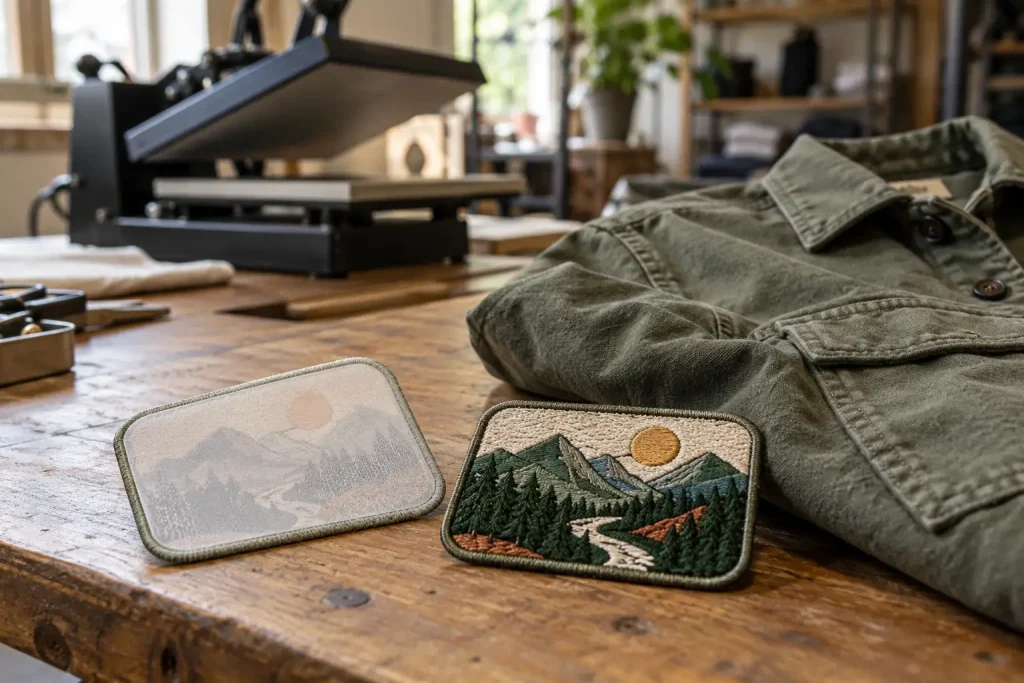
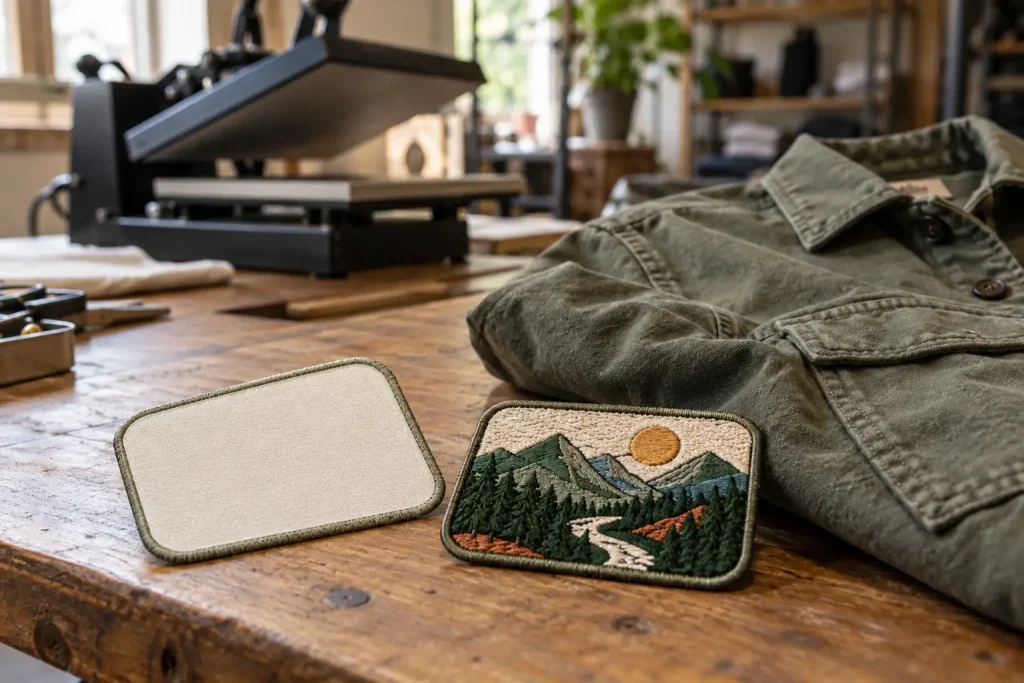
Iron-on backing creates a bond through heat and pressure. It can provide a clean finish without visible perimeter stitching.
However, a fabric name alone does not confirm compatibility. Coatings, stretch, garment construction and heat sensitivity can all affect the result.
For production, follow the instructions for the specific patch and adhesive system. Temperature, pressure and pressing time must work together; there is no single setting suitable for every patch and garment.
Buyer tip: Approve a patch applied to the actual fabric. Check its appearance, edge adhesion and performance under the intended care conditions.
3. Adhesive: Convenient Placement, with Limits to Confirm
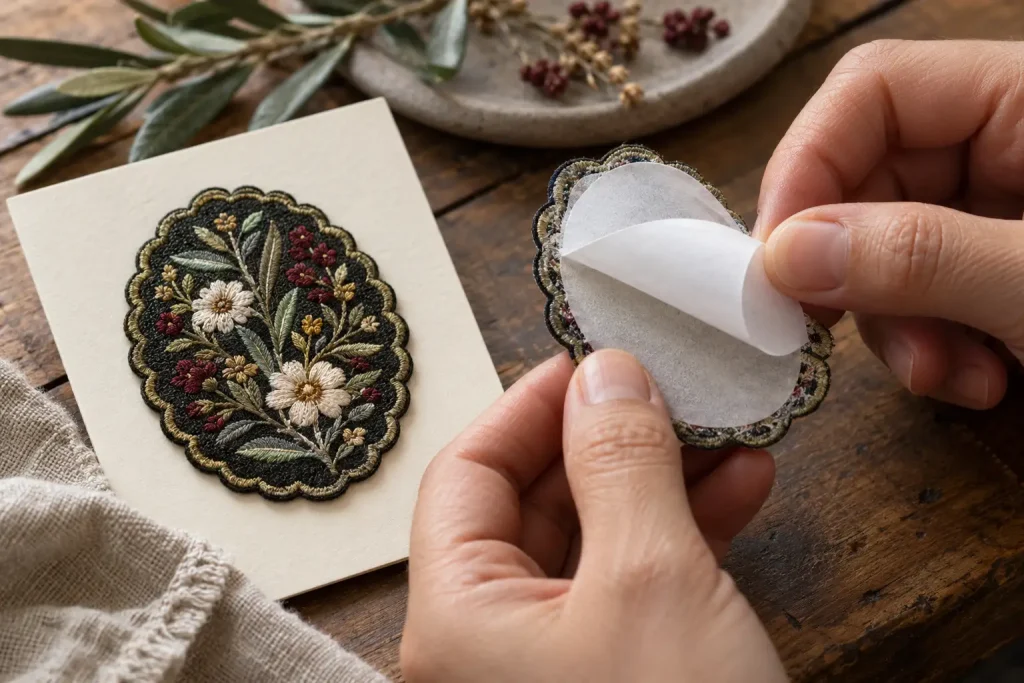
Adhesive-backed patches have a peel-off liner for direct placement without heat application.
Consider them for presentation samples, displays or short-term use where the selected adhesive suits the surface. Do not assume every stick-on patch is washable, reusable or removable without marks.
Some fabric adhesives are designed for laundering, but their performance remains product- and fabric-specific. Washability must be confirmed for the actual backing supplied.
Buyer tip: Tell your supplier whether the patch is for a one-day event, a display or regularly worn clothing. These are different requirements.
4. Hook-and-Loop: For Patches That Need to Change
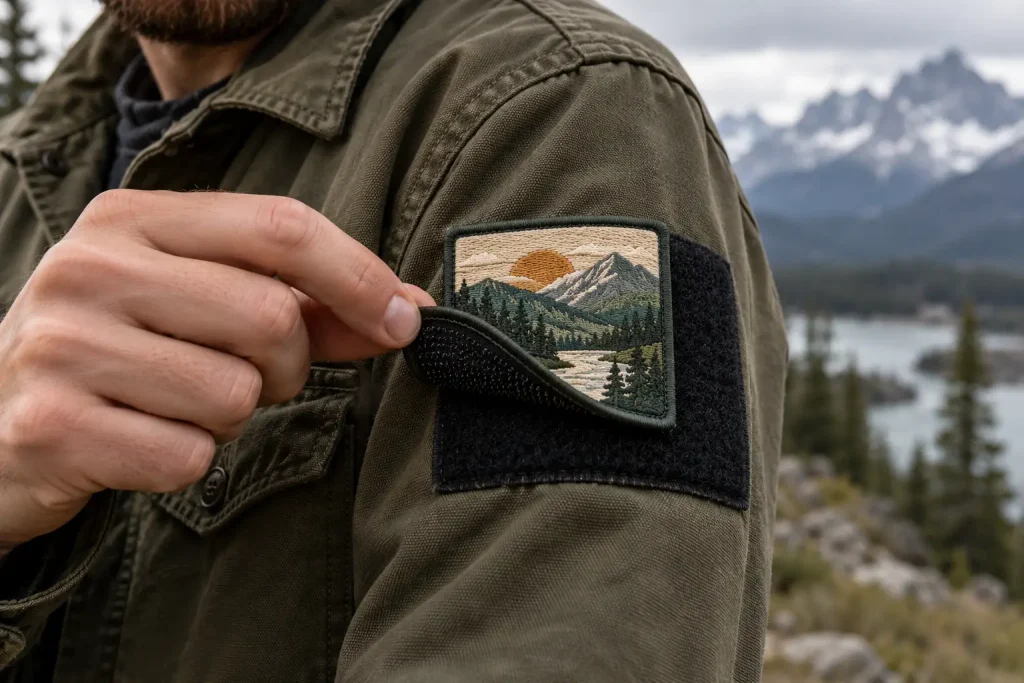
Hook-and-loop uses two mating surfaces: small hooks engage with a softer loop surface.
It is useful when names, roles or team identifiers need to change without replacing the garment.
Plan both sides of the connection. A hook-backed patch needs a compatible loop panel on the garment; the patch alone does not provide the complete attachment system.
Buyer tip: Specify whether you need the patch with hook backing only or a matching loop piece as well. Confirm how the garment-side panel will be attached.
Which Backing Fits Your Garment?
Use the garment as a starting point, then check the installation conditions.
| Application | What to check first |
|---|---|
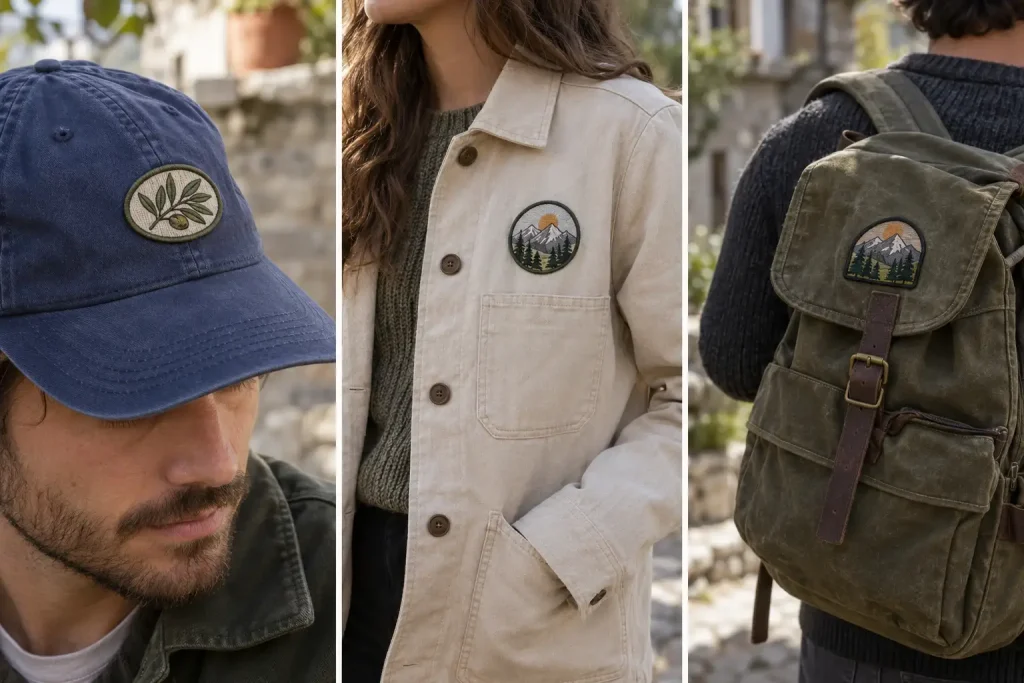
| Hats and caps | Curved placement, seams, internal structure and access for sewing or pressing |
| Uniforms and workwear | Washing routine, friction and whether identification needs changing |
| Jackets and outdoor gear | Coatings, heat sensitivity and the effect of needle holes |
| Stretch sportswear | Stretch at the application area, patch stiffness and heat tolerance |
| Bags and backpacks | Material thickness, lining access and existing loop panels |
A backing approved for one garment should not automatically be carried over to another.
Before You Place a Bulk Order
Send your supplier:
- Patch artwork, dimensions and preferred construction.
- Fabric composition and details of any coating or finish.
- Application position, ideally shown in a photo.
- Expected washing and use conditions.
- Whether the patch needs to be removable.
Then approve the patch on the intended garment or fabric, not just as a loose sample.
Frequently Asked Questions
Which backing is the most durable?
There is no universal winner. Stitching quality, adhesive compatibility, garment construction and actual use all affect durability. Compare samples against the same requirements.
Should iron-on patches also be sewn?
Additional stitching may suit some applications, but it is not automatically required. Confirm whether the patch and garment are suitable and whether the tested heat bond meets the project’s needs.
Can adhesive patches be washed?
Only when the specific adhesive system supports the intended care routine. Do not treat generic peel-and-stick backing as a washable solution.
Does hook-and-loop backing include both sides?
Supply arrangements vary. Specify hook backing only or a matching hook-and-loop set when requesting a quote.