
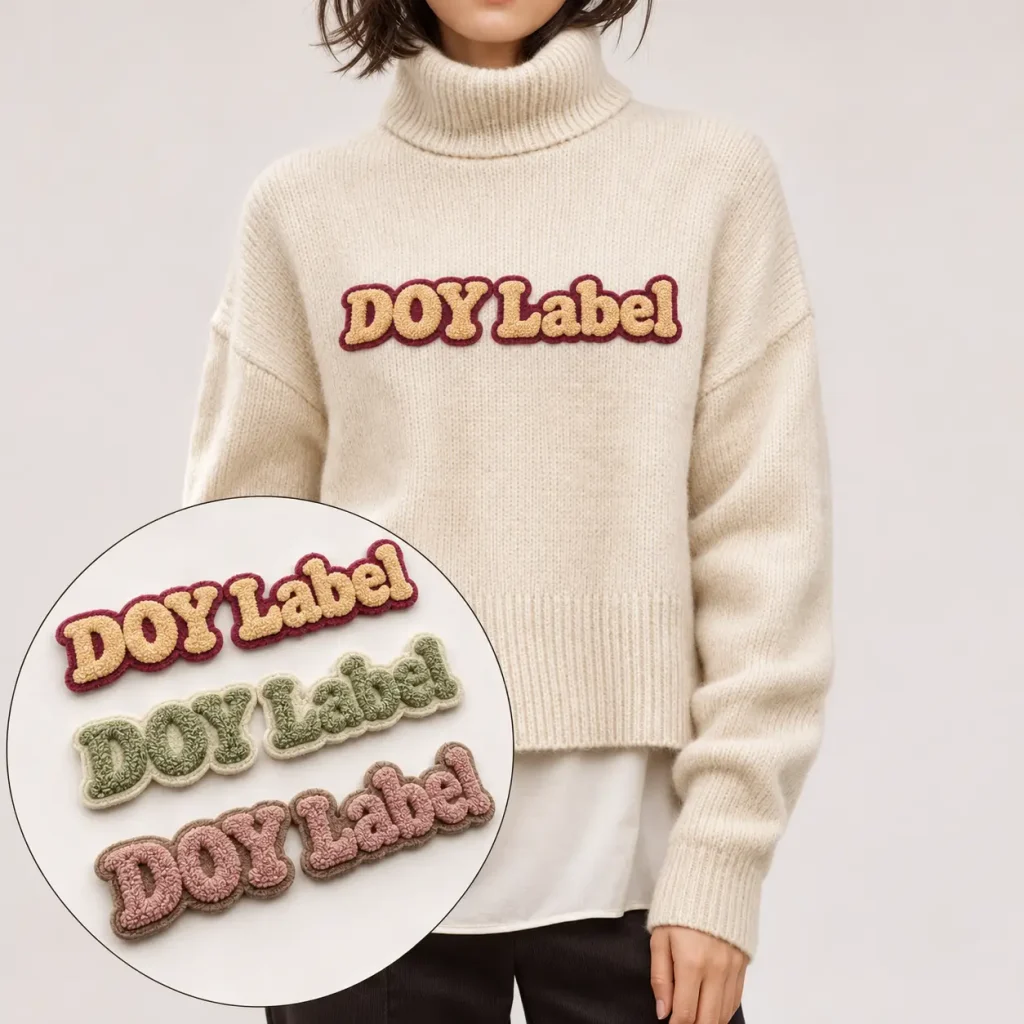
Before approving custom chenille patches, check the texture, artwork clarity, backing, garment placement and production specification. A front-view photo can help confirm appearance, but it cannot establish hand feel, flexibility or performance on your fabric.
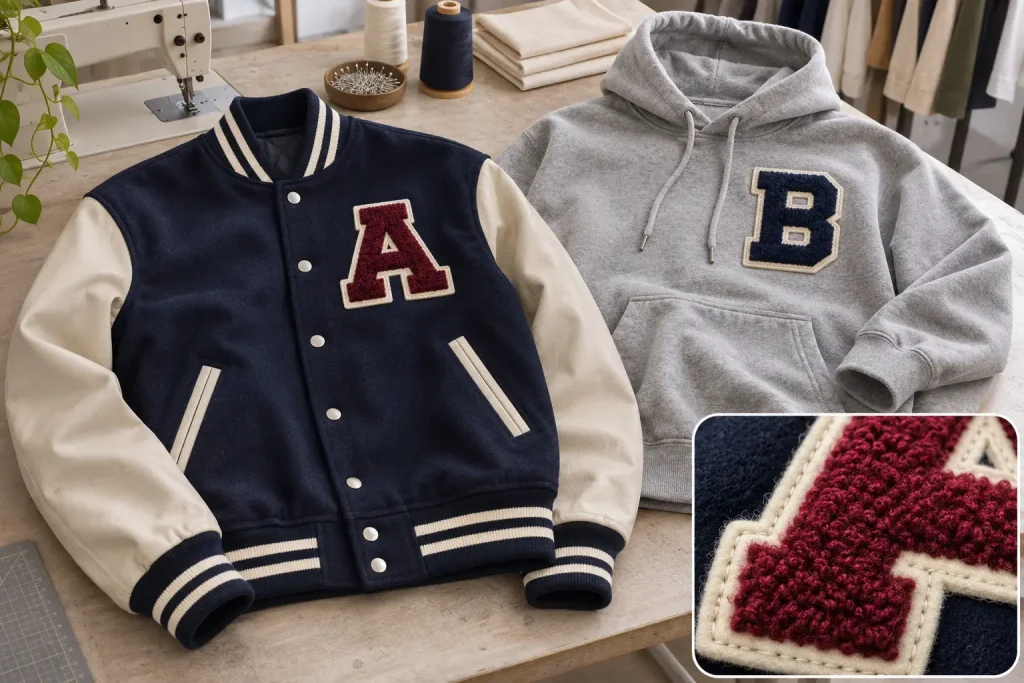
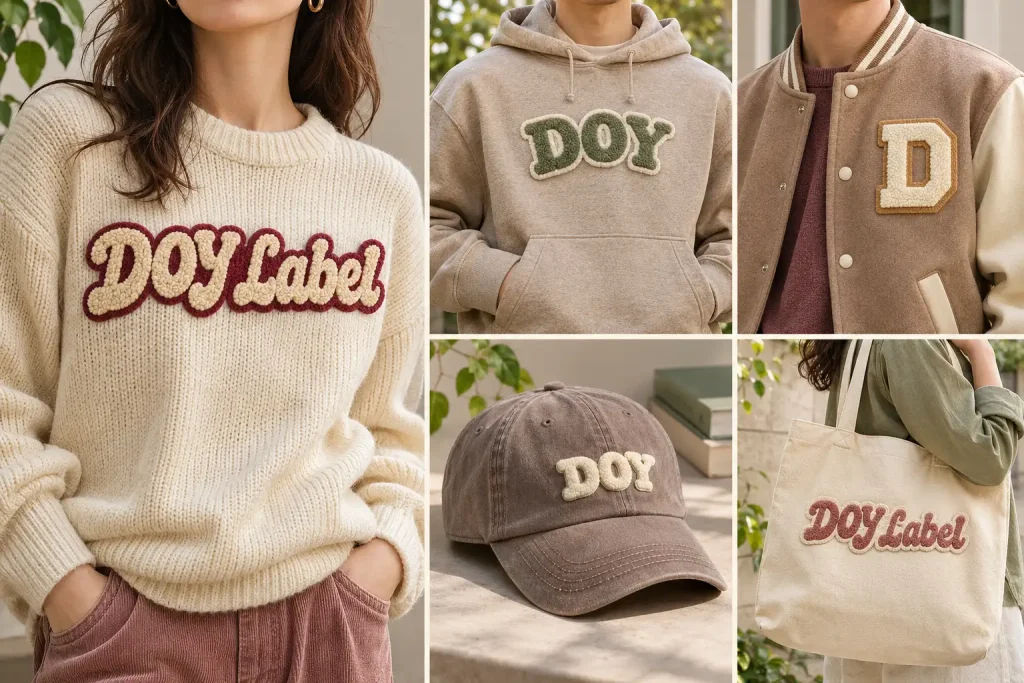
Imagine developing a varsity jacket and a matching hoodie. The same letter patch may look right on both digital mockups, yet feel bulky on one garment or sit awkwardly near a pocket. The important question is whether the finished patch works with the garment you intend to sell.
Chenille embroidery creates a raised, textured surface using yarn loops. Its visual character makes it useful for bold letters and shapes, but artwork, construction and attachment still need to be assessed together. These five checks turn a subjective “looks good” into a clearer sample approval.
1. Check the Texture Beyond the Front Photo
Assess the pile from several angles, then use a physical sample to judge its feel.**
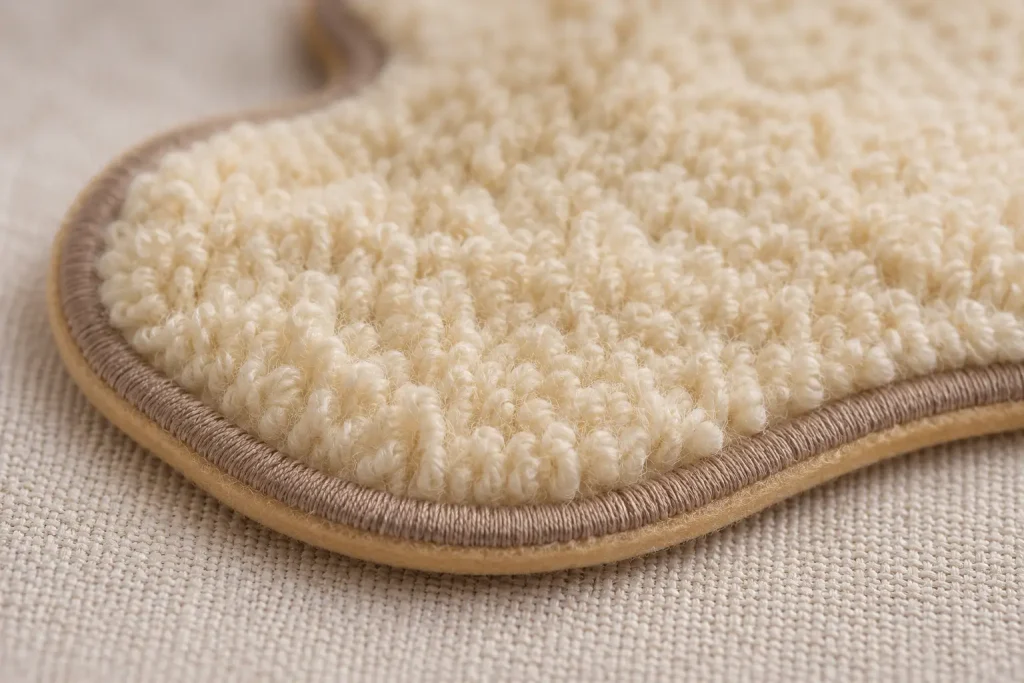
A straight-on photograph can flatten the appearance of chenille embroidery patches. Request a full front view, a close-up under side lighting and a side profile. Look for coverage across filled areas, unintended gaps and changes in height that do not belong to the design.
For a bold jacket letter, pronounced texture may support the intended look. For a smaller chest emblem, the same volume may compete with the outline. More height is not automatically better quality.
Check the physical sample for softness and how the surface responds to gentle handling. Photos and video help narrow the decision, but cannot confirm how the patch feels against the garment or in the hand.
2. Check Whether Your Artwork Still Reads Clearly
Review the stitched design at its finished size, especially small lettering, narrow gaps and corners.**
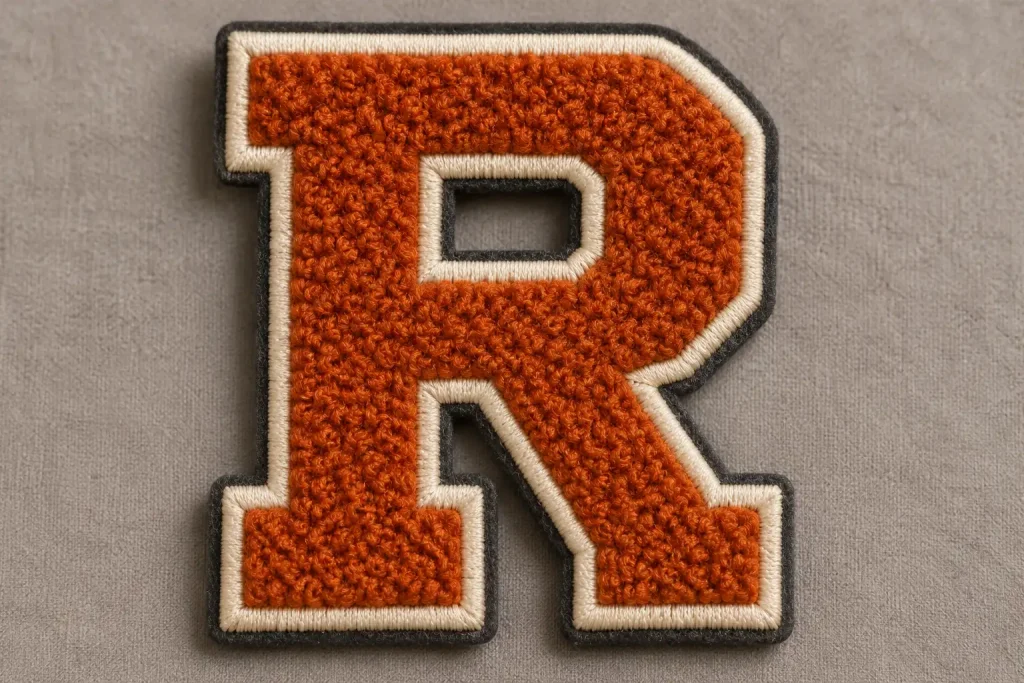
A logo that reads clearly when enlarged on screen may lose definition when translated into a textured surface. On a letter “R,” for example, inspect the internal opening, diagonal leg and separation between the pile and border.
Compare the sample with the final artwork and check:
- Whether letter openings and spaces remain distinct.
- Whether corners and curves retain the intended shape.
- Whether the border width looks balanced around the design.
- Whether small text can be read without enlarging a photograph.
Where fine details are essential, discuss combining chenille with flat embroidery, simplifying selected elements or changing the overall size. Confirm any alteration before approving the sample. Custom chenille letterman patches and detailed crest designs do not necessarily need the same construction.
3. Review the Backing, Thickness and Attachment Together
Judge the complete patch, including its base and backing—not only the soft surface.**
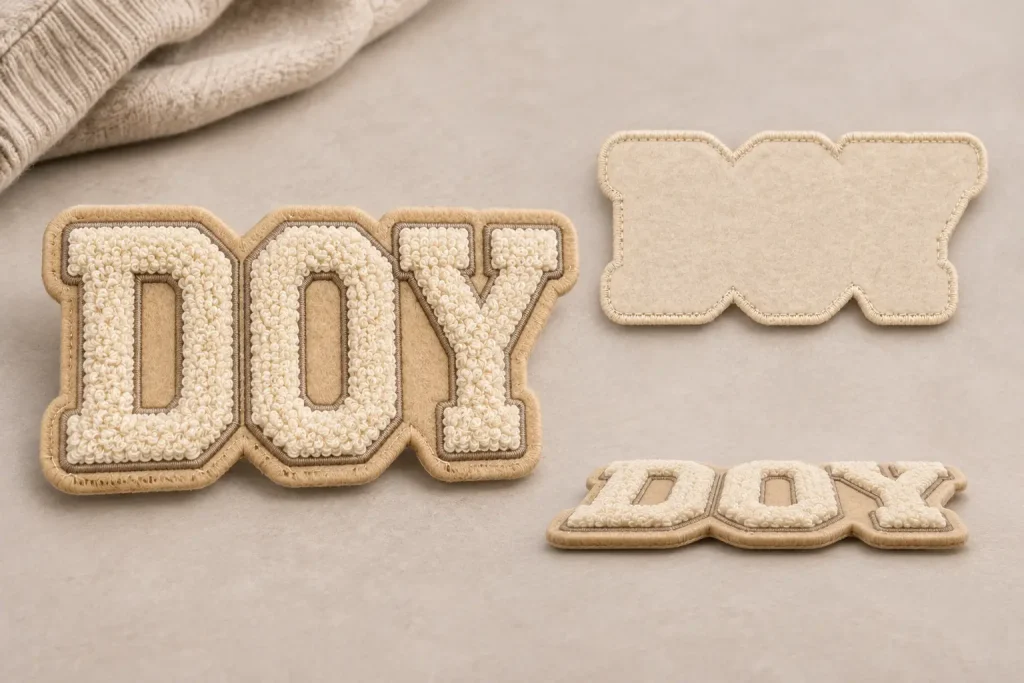
A plush face does not guarantee a flexible finished patch. Turn the sample over, examine the side profile and gently bend it. Ask which layers form the structure and how it will be attached to the garment.
For a hoodie chest patch, check whether the complete construction moves comfortably with the fabric. A larger patch on a lighter fabric deserves particular attention to stiffness, weight and distortion around the attachment area.
Sew-on attachment requires a suitable stitch path and access during garment assembly. Iron-on chenille patches require compatibility between the heat-seal backing, garment fabric and application process. Do not assume one pressing recipe works for every patch or garment. For a broader comparison of attachment methods, see this guide to patch backing options, including sew-on, iron-on, adhesive and hook-and-loop.
For heat application, obtain instructions for the specific construction and trial them on the intended fabric. Inspect the pile, garment surface and bonded edges afterward. Evaluate the attached sample under the intended care conditions before approving bulk use; a successful initial bond alone does not establish wash durability.
4. Judge the Patch on the Actual Garment
Approve placement and proportion on a representative garment, not only on a flat layout.**
For chenille patches for clothing, scale is part of the design. A wide wordmark may sit comfortably across a jacket back but approach an armhole or pocket when used elsewhere.
Position the sample on the intended garment and review it both laid flat and worn or displayed on a form. Check its relationship to seams, pockets, zippers and areas that fold during movement. Use a full-size paper template to compare positions early, then confirm the result with the physical patch attached.
If one patch size will cover an entire size range, review representative smaller and larger garments. Record placement from a stable reference point, such as a seam, rather than relying only on a photograph.
5. Approve a Repeatable Specification, Not Just a Look
Keep the approved sample and written specification connected so everyone works from the same reference.
“Match the sample” leaves room for disagreement when several versions have circulated. Identify the approved version and record what matters before production.
| Approval item | Reference to retain |
|---|---|
| Artwork and size | Final artwork version and finished dimensions |
| Colour and texture | Agreed colour references and physical sample |
| Border and construction | Front, back and side photographs; construction notes |
| Attachment and placement | Approved method and garment positioning measurements |
| Care suitability | Trial conditions, observations and agreed acceptance criteria |
| Production reference | Sample ID, approval date and documented changes |
Agree how important variations will be assessed instead of assuming all parties share the same tolerance. If the artwork, backing, fabric or application method changes, review whether the affected checks need repeating.
Frequently Asked Questions
Can a JPG or PNG logo be used to make custom embroidered patches?
Yes. A clear image can serve as the artwork reference, although vector artwork makes outlines and lettering easier to inspect. Both still require embroidery digitizing before machine production.
Can embroidered patches reproduce small text and fine details?
There are practical limits. Readability depends on finished size, font, thread and stitch construction. Enlarging lettering, increasing spacing or simplifying details may be necessary.
Is a digital proof enough to approve bulk embroidered patches?
A digital proof helps confirm layout and spelling. A stitched sample provides a more reliable reference for texture, detail definition and flatness, particularly for designs with small lettering or critical visual requirements.
Can embroidery thread match Pantone colors exactly?
Pantone references communicate the intended color, but an exact thread match may not be available. Physical thread samples or stitched samples provide a better basis for color approval than a screen alone.
Does changing the patch size require new digitizing?
It may require adjustments rather than simple scaling. Stitch density, lettering and narrow gaps should be reassessed at the new size, followed by a sample check where needed.